

We need to install a Virtual box. Download according to Operating System.

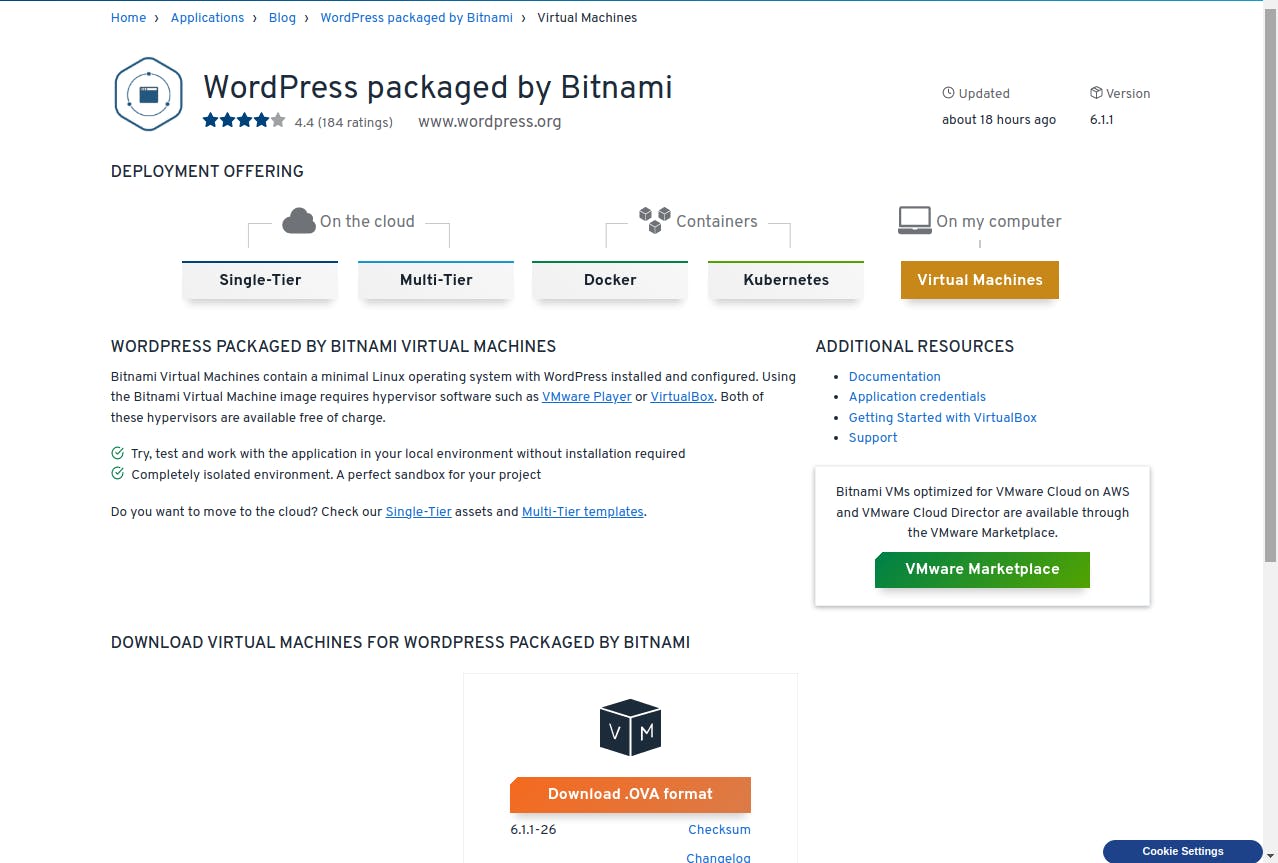
Now, we need to download WordPress virtual image from bitnami. Download .ova format file.
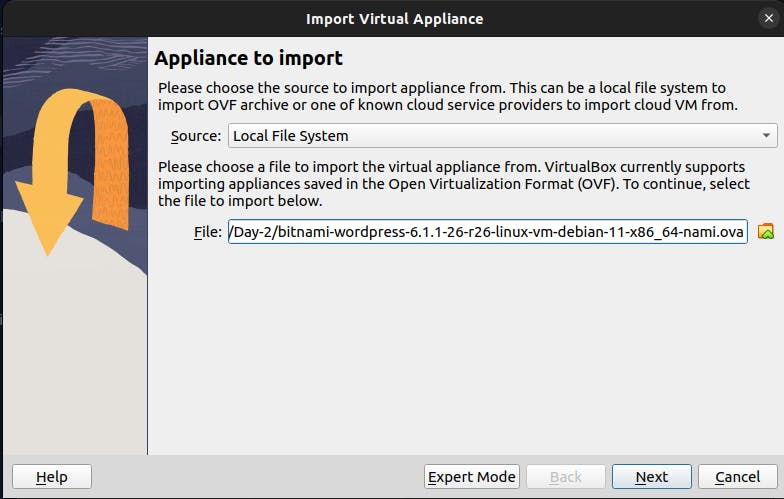
Now, open the virtual box and import the WordPress package. Click on import appliance.
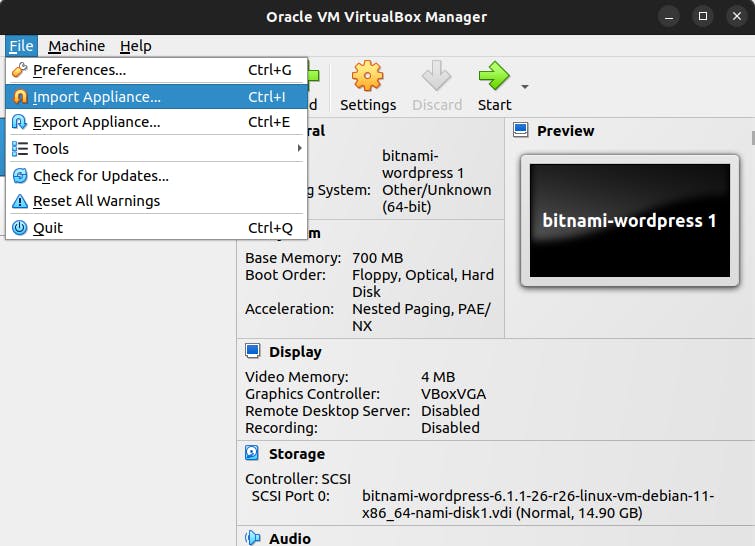
Select the downloaded WordPress file.
Then, click next. Modify if you want to change something.
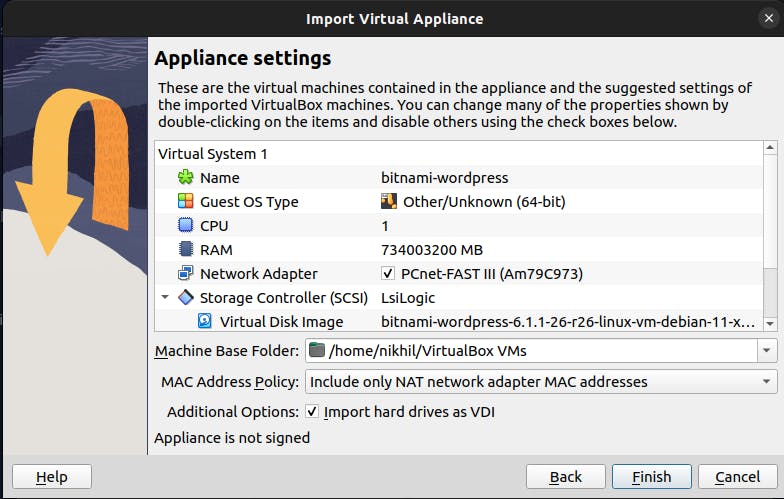
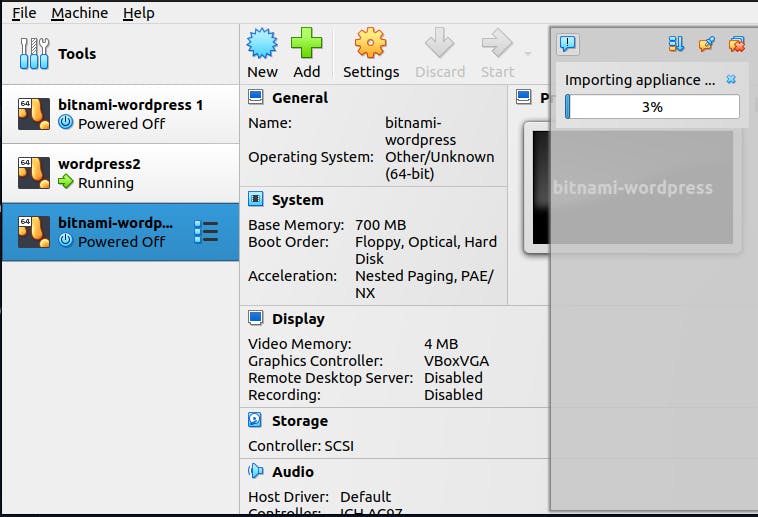
Click on finish. WordPress virtual machine file will be imported. Wait patiently...
Select the Virtual machine and click on start.

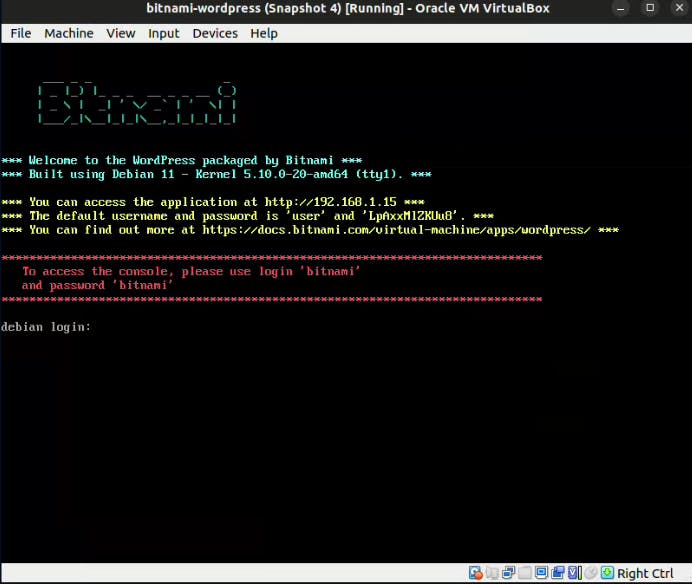
The virtual machine will start:-
Enter the login credentials given on the screen.
username - 'bitnami'
password - 'bitnami'
After that, it'll ask you to change your password. It's up to you to change it or not.
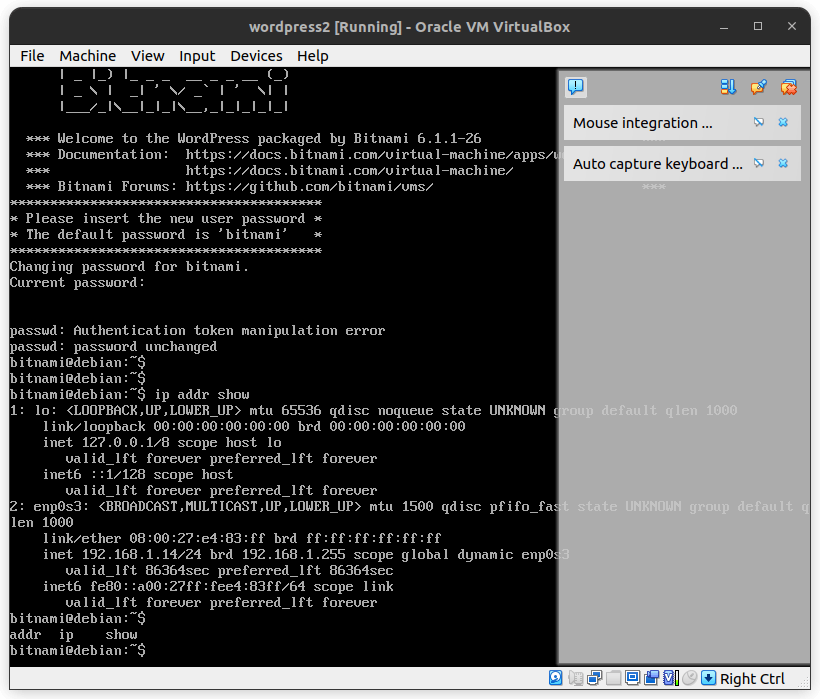
WordPress Virtual Machine has started.

Find the IP address using the command:- ip addr show
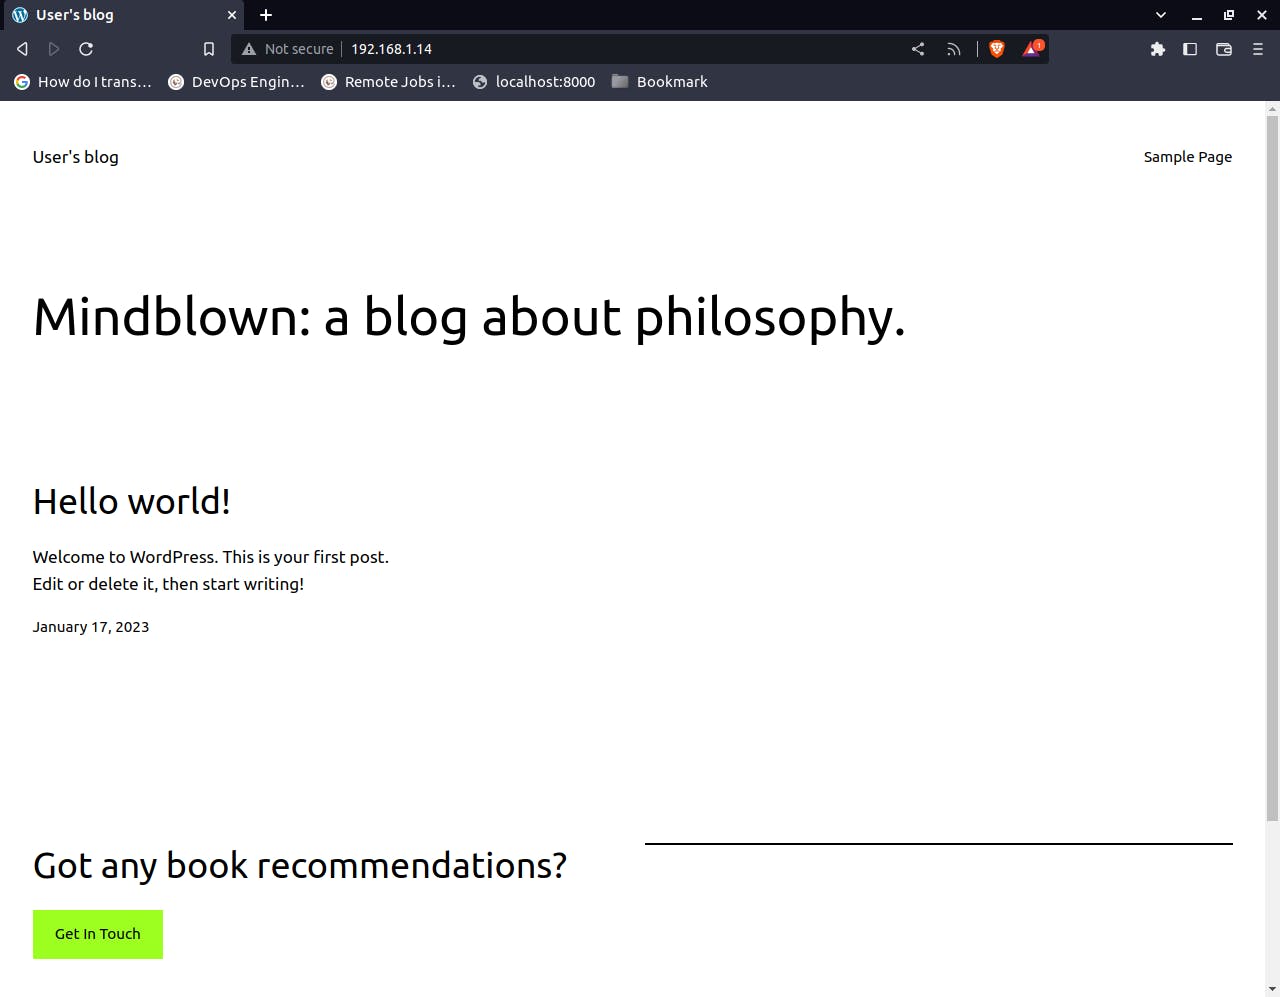
Enter the IP address on your browser. A basic WordPress website will open.
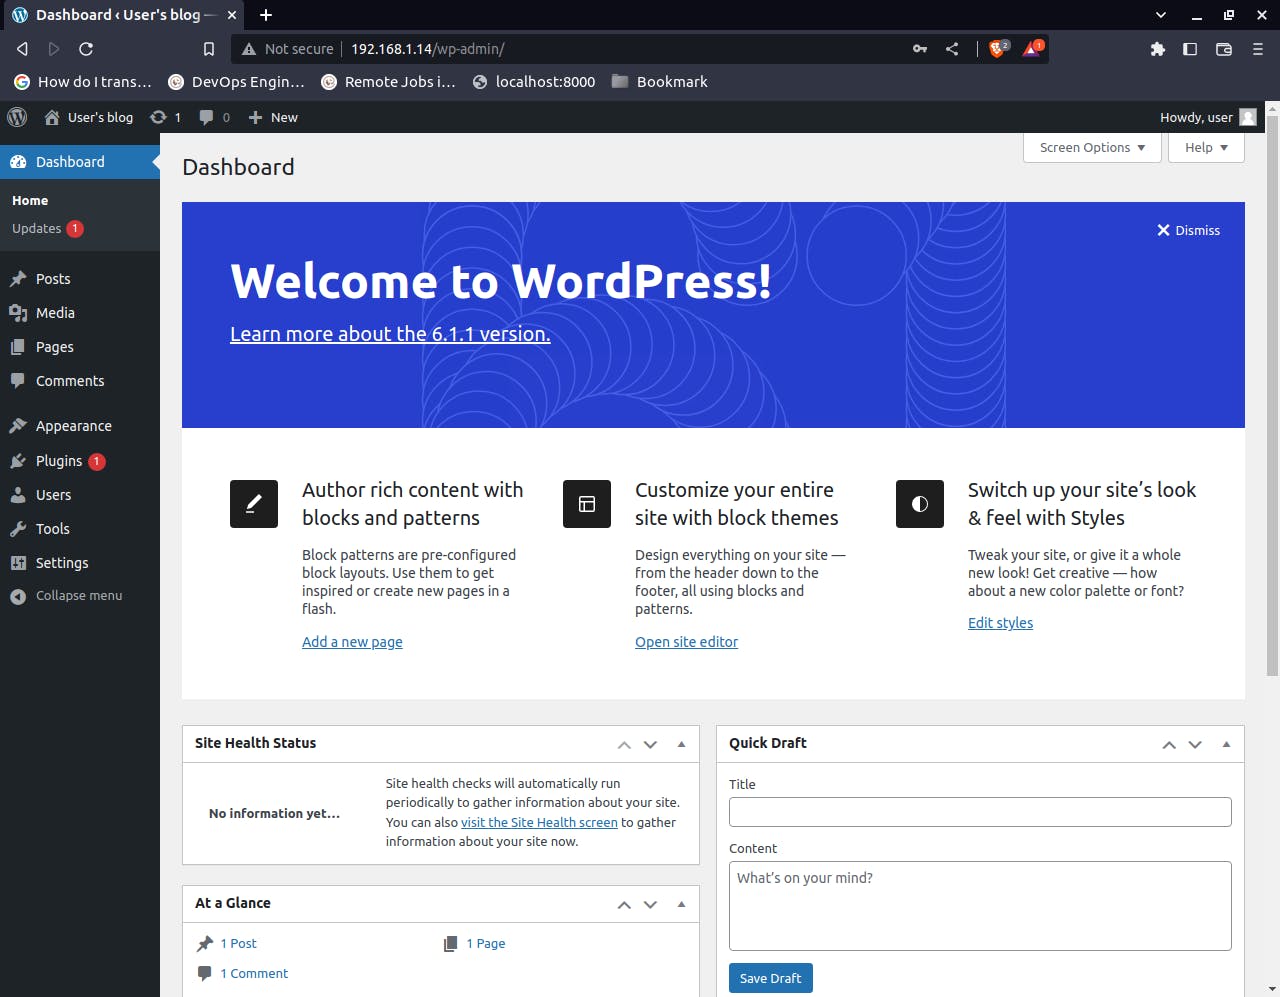
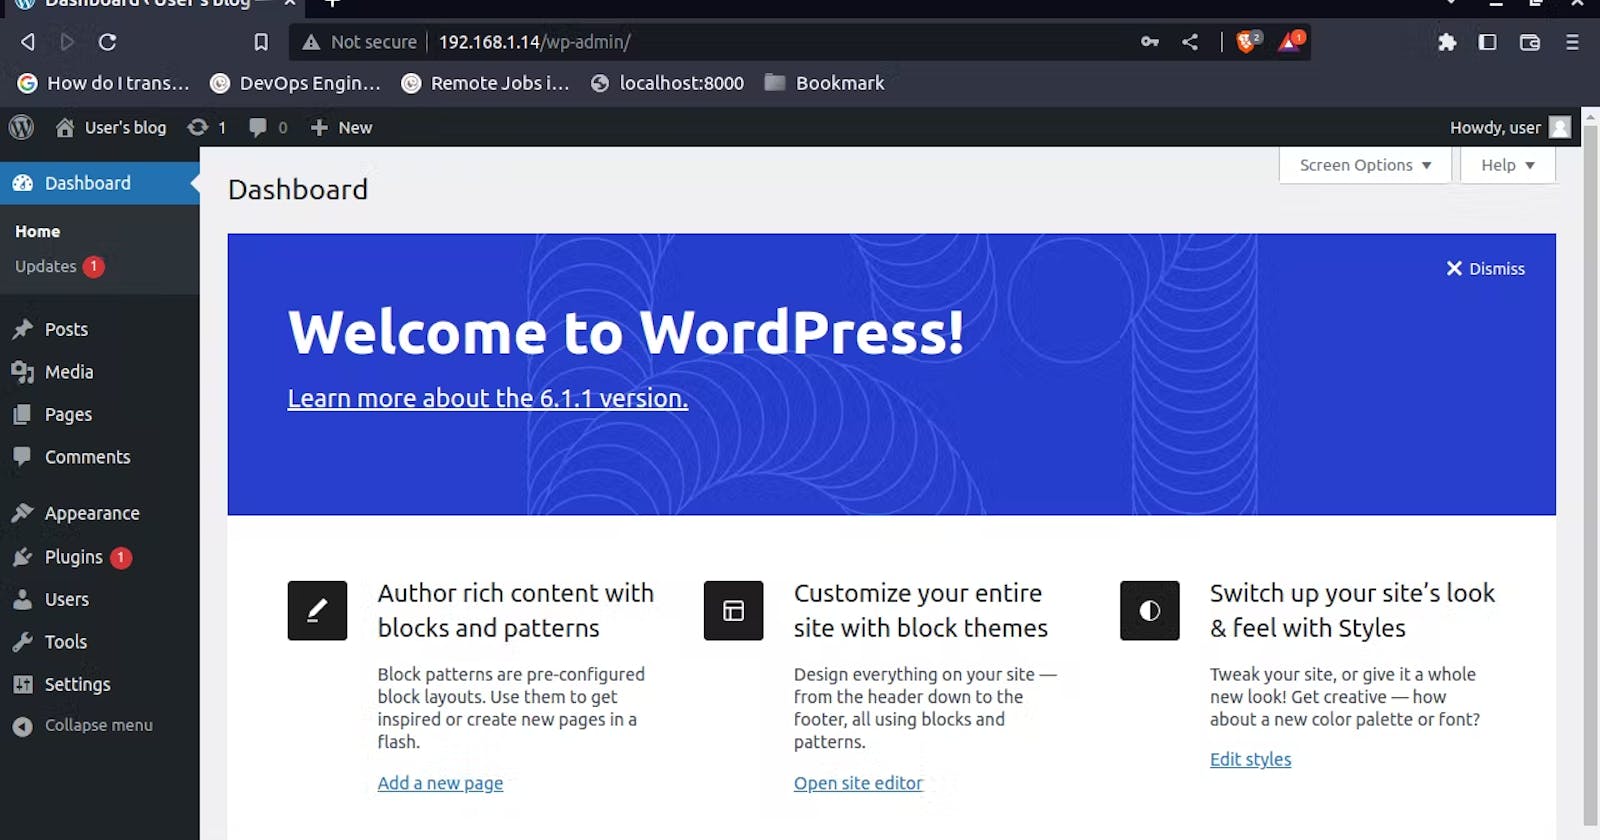
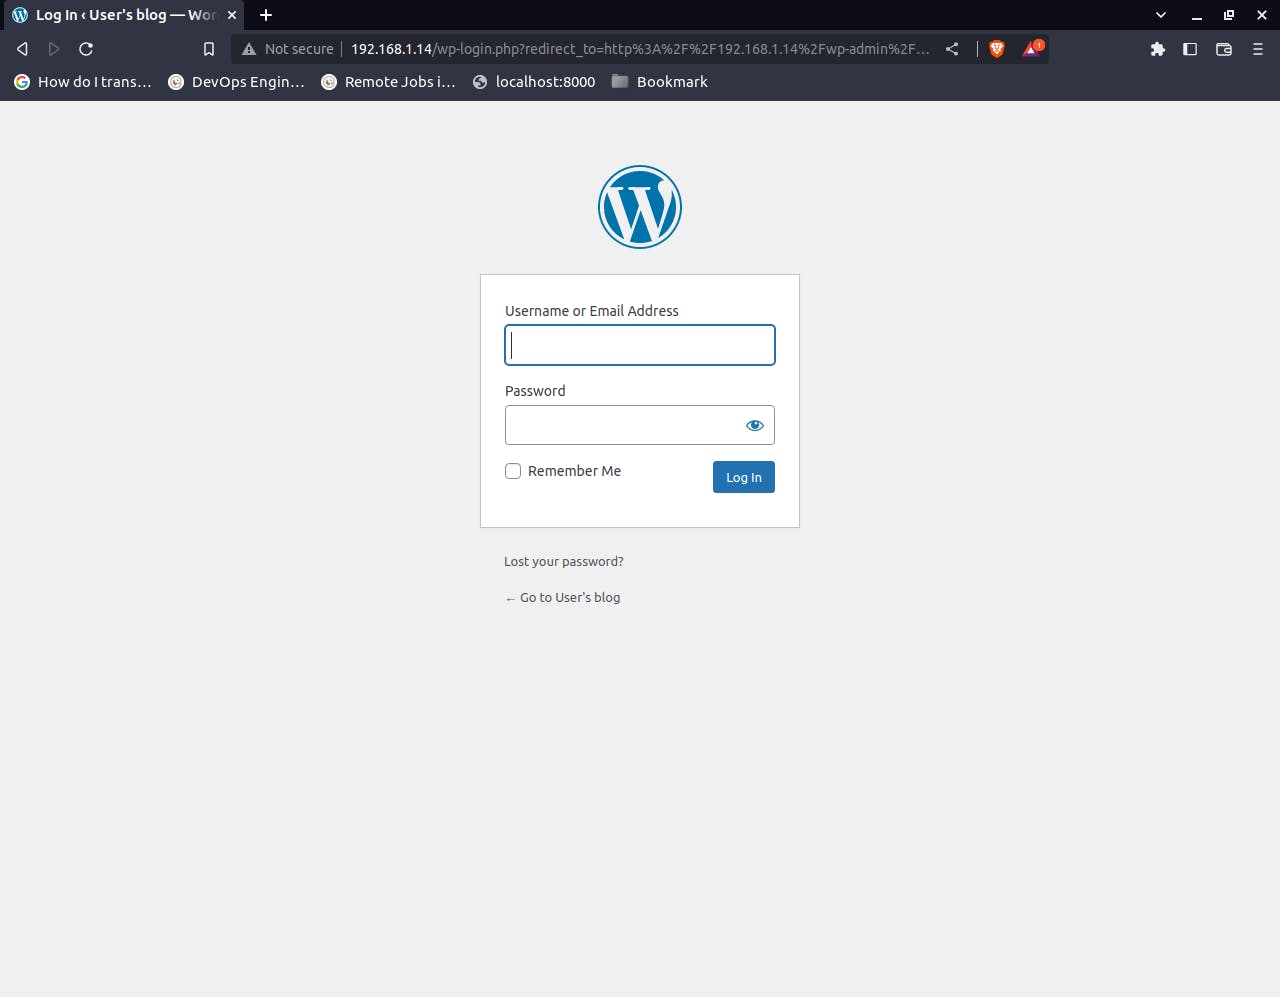
You can access the admin portal by adding wp-admin after IP in the URL:-
http://192.168.1.14/wp-admin
You can get your login credentials from here on the virtual machine:-
sudo cat /home/bitnami/bitnami_credentials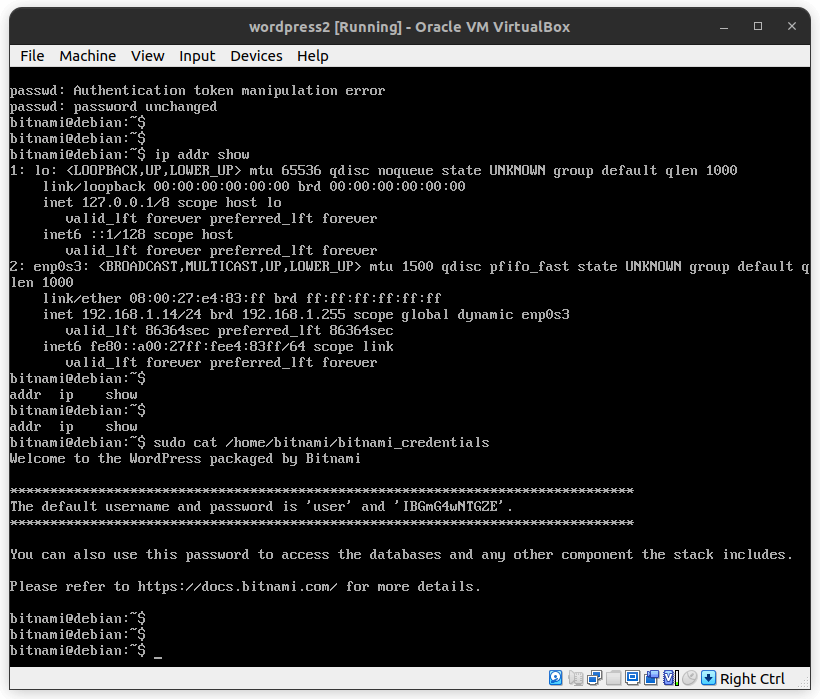
After login WordPress, the admin portal will open. Here, you can make changes to the website.